webhook is a lightweight configurable tool written in Go, that allows you to easily create HTTP endpoints (hooks) on your server, which you can use to execute configured commands. You can also pass data from the HTTP request (such as headers, payload or query variables) to your commands. webhook also allows you to specify rules which have to be satisfied in order for the hook to be triggered.
大概意思就是 webHook 会在服务器启动一个端口使用webHook服务,然后你可以配置以及设定rule
思路 使用WebHook实现CD的思路:
我们推送代码到github Action,github Action进行完CI后,推送latest镜像到dockerHub,然后发起一个请求到服务器9000端口,触发webHook实现Deployment的重新启动
注:这里的发起请求是个人行为,个人感觉有点不妥,应该发请求到DockerHub的webHook,然后在用DockerHub的webHook发给服务器,但是这里的DockerHub的Payload中的Namespace无法自定义,而我k3s中的Namespace和其不一样,所以我放弃了
实操 我是用的是Ubuntu,直接运行 sudo apt-get install webhook
应用程序 webhook 在 /usr/bin/webhook 下
然后我在 /home/echin/webhook/下创建了
hooks.json 1 2 3 4 5 6 7 8 9 10 11 12 13 14 15 16 17 18 19 20 21 22 [ { "id" : "deploy" , "execute-command" : "/home/echin/webhook/hooks.sh" , "command-working-directory" : "/" , "expect_payload" : true , "content_type" : "application/json" , "events" : ["push" ], "http_method" : ["POST" ], "pass-arguments-to-command" : [ { "source" : "payload" , "name" : "NAMESPACE" }, { "source" : "payload" , "name" : "DEPLOYMENT" } ] } ]
其实这里的Payload还可以传一个密钥来验证身份:
1
2
3
4
5
6
7
8
9
10
11
12
13
14
# 大概这样 "trigger-rule" : { "match" : { "type" : "payload-hash-sha1" , "secret" : "IXvNJ" , "parameter" : { "source" : "header" , "name" : "X-Hub-Signature" } } }
id就是一个path匹配
"execute-command": "/home/echin/webhook/hooks.sh" 这个表示当匹配到 /hooks/deploy 路径时会执行这个路径下的脚本
然后"pass-arguments-to-command"这个下面的会作为参数传输给脚本
"command-working-directory" 这个表示的是应用程序webhook所在的地方
其他的就是一些定义
hooks.sh 1 2 3 4 5 6 #!/bin/bash echo "Namespace: $1" echo "Deployment: $2" kubectl rollout restart deployment $2 -n $1
这是一个脚本,可以定义很多语句来做到自己想要的结果
但是我现在想要的就是简单粗暴—-就是直接拿到参数重启,有什么缺点也不管了,反正只有一个优点:方便
运行 1 2 3 4 5 6 7 8 9 10 /usr/bin/webhook -hooks hooks.json -verbose [webhook] 2024/10/02 00:31:02 version 2.8.0 starting [webhook] 2024/10/02 00:31:02 setting up os signal watcher [webhook] 2024/10/02 00:31:02 attempting to load hooks from hooks.json [webhook] 2024/10/02 00:31:02 os signal watcher ready [webhook] 2024/10/02 00:31:02 found 1 hook(s) in file [webhook] 2024/10/02 00:31:02 loaded: deploy [webhook] 2024/10/02 00:31:02 serving hooks on http://0.0.0.0:9000/hooks/{id }
新增一个命令行测试一下:
1 2 3 4 root@iZbp1enj5sdg8fivwsn3qwZ:/home/echin/webhook "NAMESPACE" : "hduhelp" , "DEPLOYMENT" : "gin-quickly-template" }'
运行完后:
1 2 3 4 5 6 7 8 9 10 11 [webhook] 2024/10/02 00:32:21 [89bcea] incoming HTTP POST request from 127.0.0.1:37270 [webhook] 2024/10/02 00:32:21 [89bcea] deploy got matched [webhook] 2024/10/02 00:32:21 [89bcea] deploy hook triggered successfully [webhook] 2024/10/02 00:32:21 [89bcea] 200 | 0 B | 82.705µs | 0.0.0.0:9000 | POST /hooks/deploy [webhook] 2024/10/02 00:32:21 [89bcea] executing /home/echin/webhook/hooks.sh (/home/echin/webhook/hooks.sh) with arguments ["/home/echin/webhook/hooks.sh" "hduhelp" "gin-quickly-template" ] and environment [] using / as cwd [webhook] 2024/10/02 00:32:22 [89bcea] command output: Namespace: hduhelp Deployment: gin-quickly-template deployment.apps/gin-quickly-template restarted [webhook] 2024/10/02 00:32:22 [89bcea] finished handling deploy
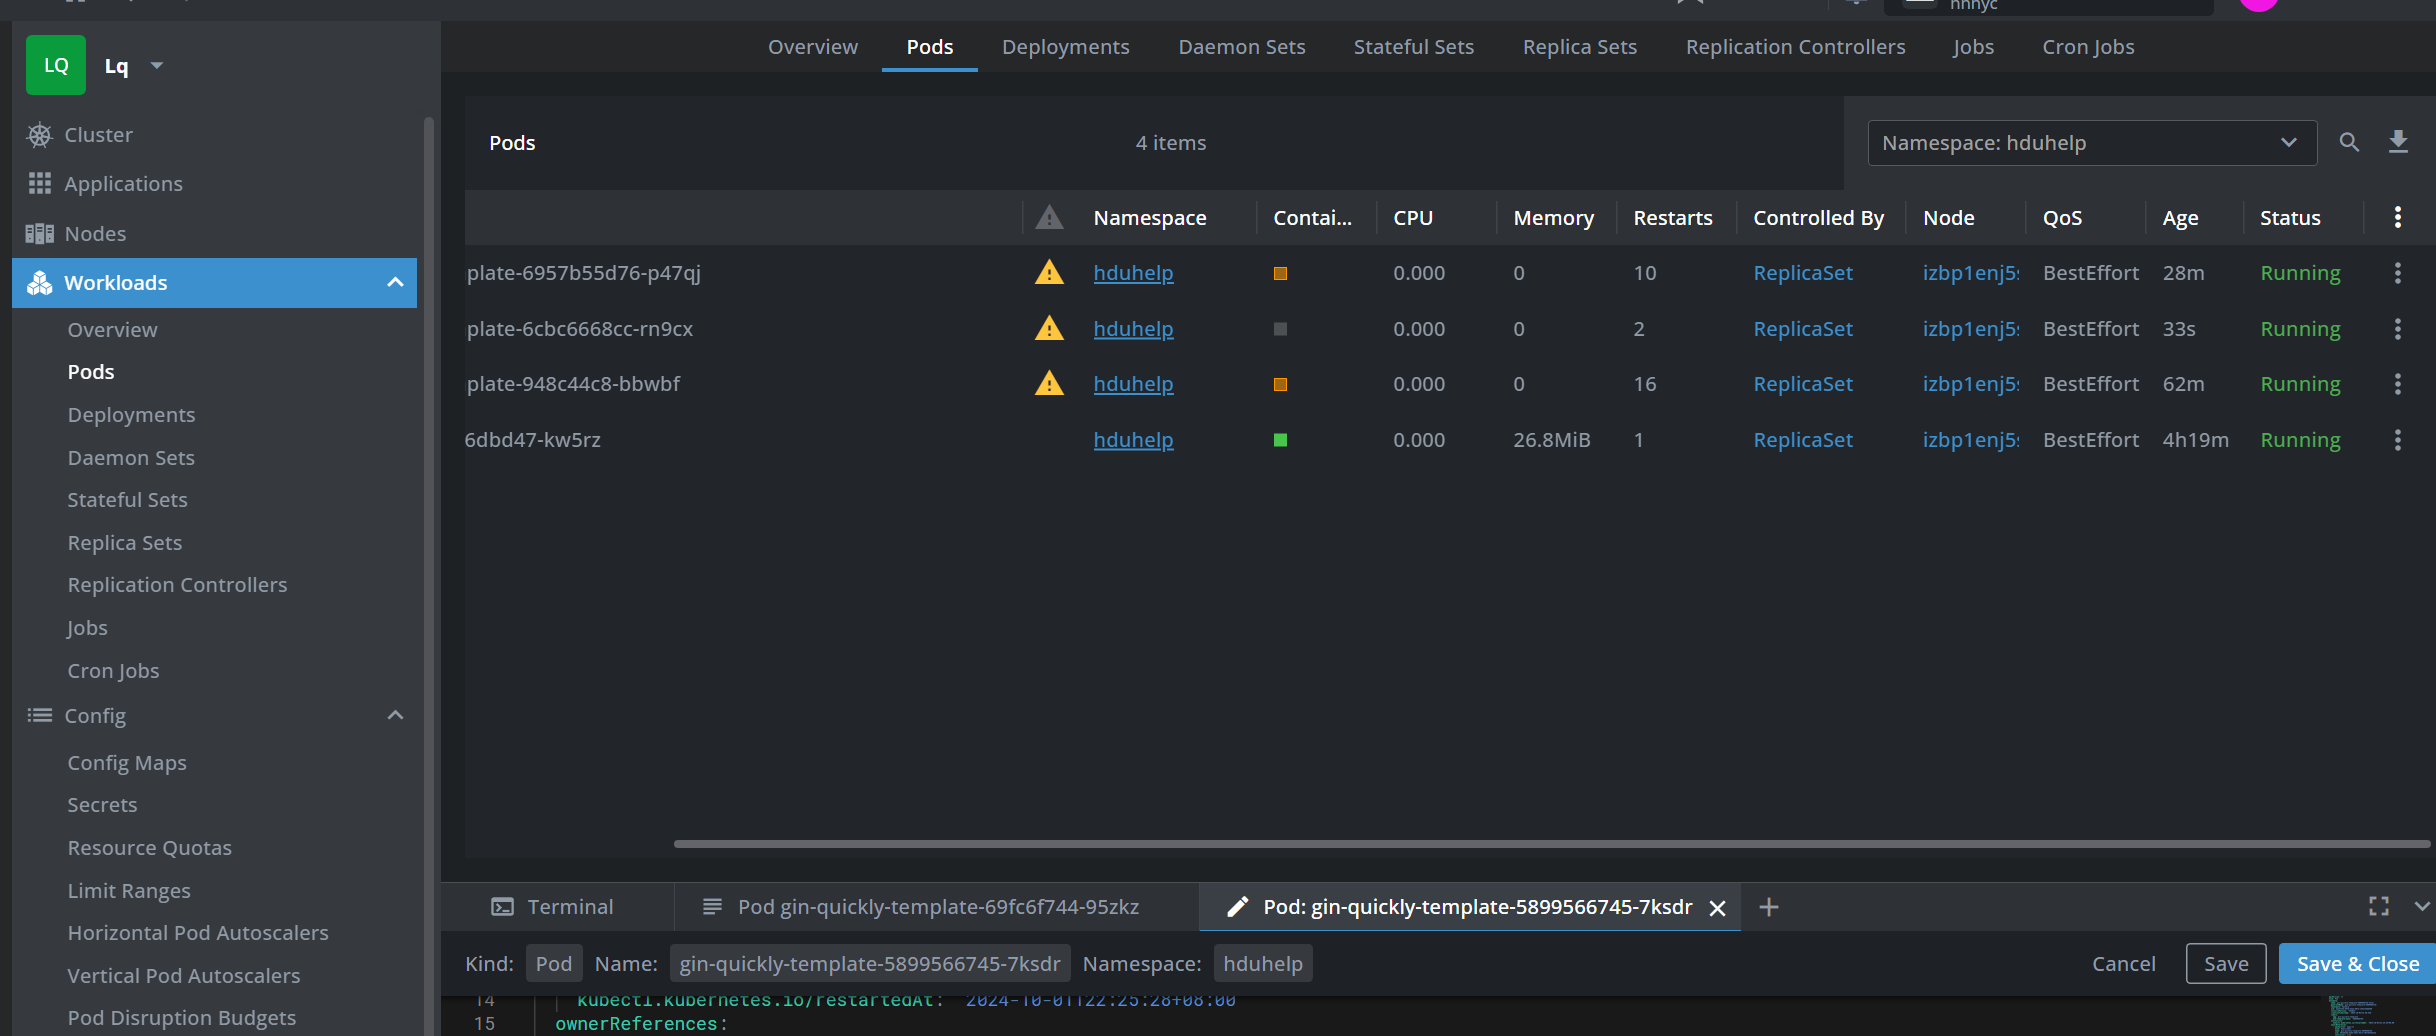
然后去查看一下k3s:
OK 完事!
下面就在 workflow中加这么一句话:
记得把ip换成自己服务器的ip
1 2 3 4 5 6 7 8 - name: Deploy to Kubernetes run: | sleep 2s curl -X POST http://localhost:9000/hooks/deploy -H "Content-Type: application/json" -d '{ "NAMESPACE": "hduhelp", "DEPLOYMENT": "gin-quickly-template" "" }'
最后 git push 测试一下是否成功
总结 没什么技巧,但是很考验折腾能力,挺好的
在实践的过程中报错都是千奇百怪的,缺这缺那的啊,路径问题啊,权限问题啊,甚至有强哥没开安全组的问题哈哈哈哈
成功了就挺好的,自己的template又完善了一步